
- ZA 0375-A--p01
- Item
Part of THL Image Collection
523 results with digital objects Show results with digital objects
Part of THL Image Collection
Part of THL Image Collection
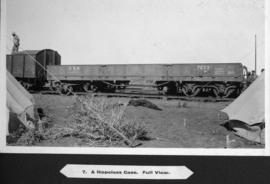
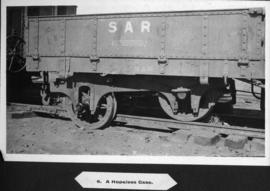
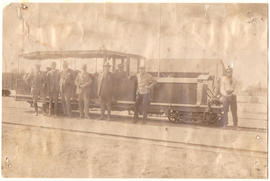
Page 08. A hopeless case. Full view.
Part of THL Image Collection
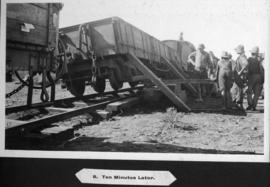
Page 09. A hopeless case. Ten minutes later.
Part of THL Image Collection
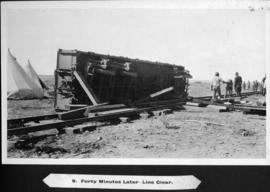
Page 10. A hopeless case. Forty minutes later, line clear.
Part of THL Image Collection
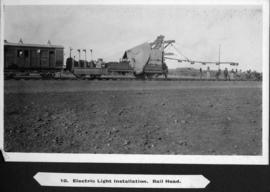
Page 11. Electric light installation at railhead.
Part of THL Image Collection
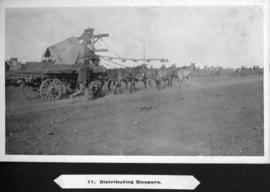
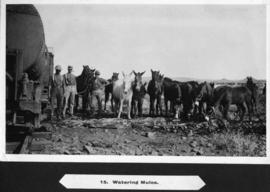
Page 12. Distribution of sleepers by mule wagon.
Part of THL Image Collection
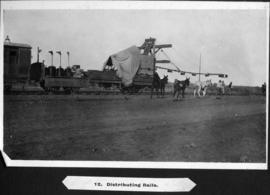
Page 13. Dragging of rails by mule.
Part of THL Image Collection
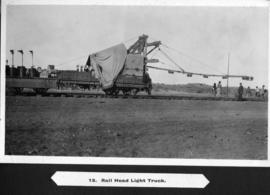
Page 14. Light truck at railhead.
Part of THL Image Collection
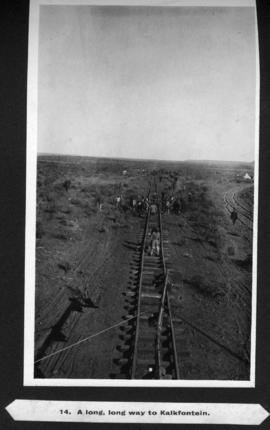
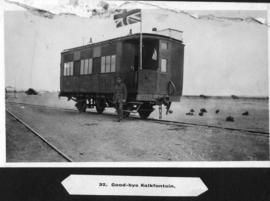
Page 15. A long, long way to Kalkfontein.
Part of THL Image Collection
Part of THL Image Collection
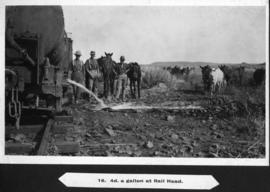
Page 17. Water at four pennies a gallon at railhead.
Part of THL Image Collection

Page 18. The last lap to Kalkfontein.
Part of THL Image Collection
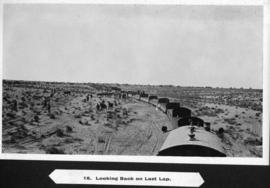
Page 19. Looking back on the last lap to Kalkfontein.
Part of THL Image Collection
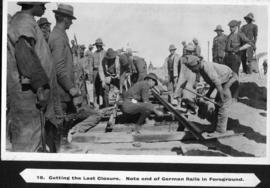
Page 20. Cutting the last closure with end of German rails in foreground.
Part of THL Image Collection

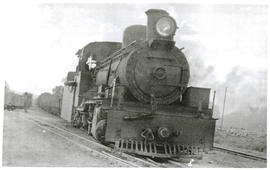
Page 21. Driver Harrison with SAR Class 7B No 1038.
Part of THL Image Collection
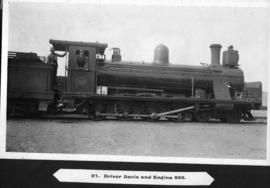
Page 22. Driver Davis with SAR Class 7 No 955.
Part of THL Image Collection

Page 23. Captain Forbes, RSO and Lieutenant Ormsby, District Engineer in Charge Rail Head.
Part of THL Image Collection

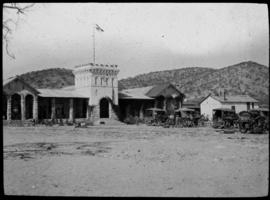
Page 25. Kalkfontein. View from the east.
Part of THL Image Collection
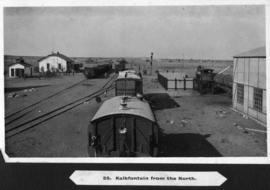
Page 26. Kalkfontein. View from the north.
Part of THL Image Collection

Page 27. Kalkfontein. Engine shed at station.
Part of THL Image Collection
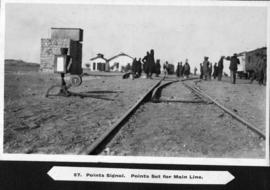
Page 28. Kalkfontein. Points set for main line.
Part of THL Image Collection
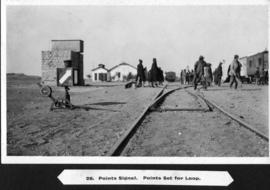
Page 29. Kalkfontein. Points set for loop.
Part of THL Image Collection
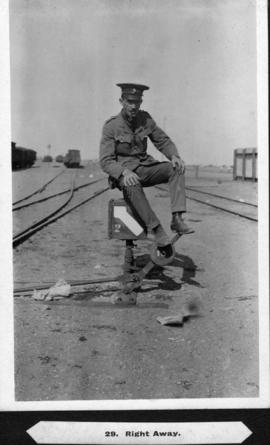
Page 30. Kalkfontein. Lieutenant Ormsby at points signal.
Part of THL Image Collection
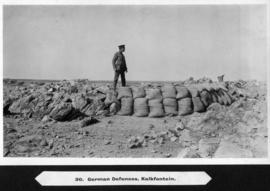
Page 31. Kalkfontein. Defensive position formed by Germans with sand bags.
Part of THL Image Collection

Page 32. Kalkfontein. Water tank protected by sand bags.
Part of THL Image Collection
Part of THL Image Collection
Part of THL Image Collection
Part of THL Image Collection
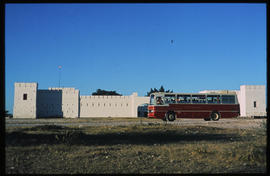
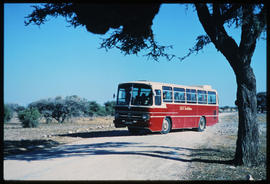
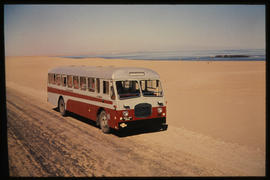
Namib Desert, South-West Africa, 1972. SAR Mercedes Benz tour bus at Welwitchia plant.
Part of THL Image Collection

Part of THL Image Collection
Swakopmund, South-West Africa, 1976. SAR Mercedes Benz tour bus No MT60011 at rest camp.
Part of THL Image Collection
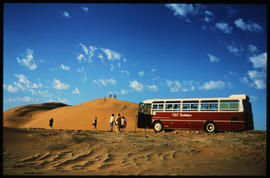
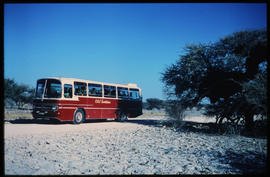
Swakopmund district , South-West Africa, 1976. SAR Mercedes Benz tour bus at sand dune.
Part of THL Image Collection
Swakopmund district , South-West Africa, 1976. SAR Mercedes Benz tour bus in Swakop River gorge.
Part of THL Image Collection

Swakopmund district , South-West Africa, 1976. SAR Mercedes Benz tour bus at sand dune.
Part of THL Image Collection
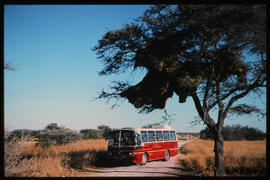
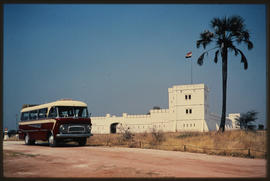
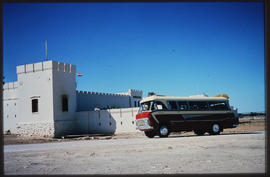
Etosha Game Park, South-West Africa, 1971. SAR Mercedes Benz tour bus at Fort Namutoni rest camp.
Part of THL Image Collection
Etosha Game Park, South-West Africa, 1971. SAR Mercedes Benz tour bus game viewing.
Part of THL Image Collection
Part of THL Image Collection

Etosha Game Park, South-West Africa, 1971. SAR Mercedes Benz tour bus at Fort Namutoni rest camp.
Part of THL Image Collection
South-West Africa. SAR Class 32-000 with mixed train.
Part of THL Image Collection
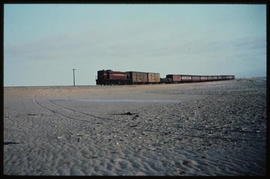
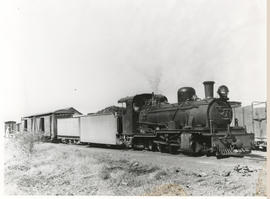
South-West Africa, 1971. Two SAR Class 32-000's with goods train.
Part of THL Image Collection
South-West Africa, 1971. Two SAR Class 32-000;s with goods train.
Part of THL Image Collection
![Swakopmund, South-West Africa, August 1972. Lighthouse. [D Lee / S Mathyssen]](/uploads/r/null/0/c/b/0cb25611b101c62737675f18d9768bcc6dc3c170c3e07e144b487f8fddbd2b0b/CB_045_066_72_142.jpg)
Swakopmund, South-West Africa, August 1972. Lighthouse. [D Lee / S Mathyssen]
Part of THL Image Collection

Part of THL Image Collection

Winshoek, Namibia, 1968. Railway diesel yard.
Part of THL Image Collection
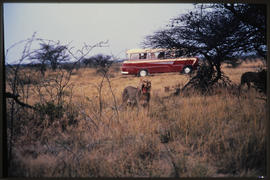
Etosha Game Park, Namibia, 1968. Roaring lion with SAR GUY tour bus in the background.
Part of THL Image Collection
Etosha Game Park, Namibia, 1968. SAR GUY tour bus at Fort Namutoni rest camp.
Part of THL Image Collection
Etosha Game Park, Namibia, SAR GUY tour bus at Fort Namutoni rest camp.
Part of THL Image Collection
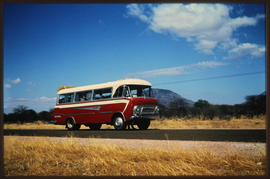
Namibia, 1968. SAR GUY tour bus No MT6913 on the road.
Part of THL Image Collection
Etosha Game Park, Namibia, 1968. SAR GUY tour bus. MT6913 at Fort Namutoni rest camp.
Part of THL Image Collection
Etosha Game Park, Namibia, 1968. SAR GUY tour bus MT6913 at Fort Namutoni rest camp.
Part of THL Image Collection
Etosha Game Park, Namibia, 1968. SAR GUY tour bus on gravel road.
Part of THL Image Collection
Etosha Game Park, Namibia, 1968. SAR GUY tour bus at Fort Namutoni rest camp.
Part of THL Image Collection

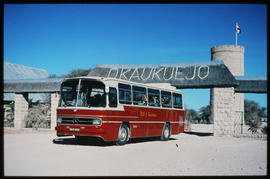
Etosha Game Park, Namibia, 1968. SAR Mercedes Benz tour bus No MT16402 in Okaukuejo rest camp. .
Part of THL Image Collection
Etosha Game Park, Namibia, 1968. SAR GUY tour bus No MT6913 at Fort Namutoni rest camp.
Part of THL Image Collection

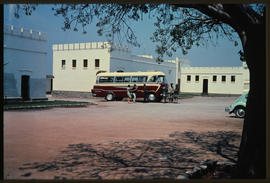
Etosha Game Park, Namibia, 1968. SAR GUY tour bus in Okaukuejo rest camp.
Part of THL Image Collection
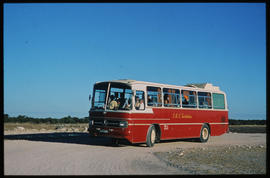
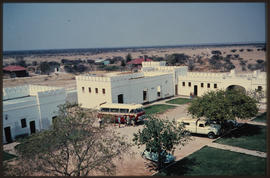
Etosha National Park, Namibia, 1972. SAR tour bus.
Part of THL Image Collection

Part of THL Image Collection
Etosha Game Park, Namibia, 1972. SAR Mercedes Benz tour bus.
Part of THL Image Collection
Etosha Game Park, Namibia, 1972. SAR Mercedes Benz tour bus.
Part of THL Image Collection

Etosha Game Park, Namibia, 1968. SAR Guy tour bus entering Okaukuejo rest camp entrance gate.
Part of THL Image Collection
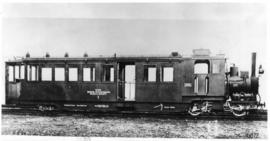
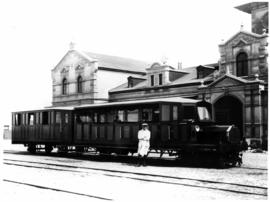
Omaruru, South-West Africa. Railcar at railway station. (Erich Stacher)
Part of THL Image Collection
Part of THL Image Collection
Part of THL Image Collection
Part of THL Image Collection
![Windhoek, Namibia, December 1984. Railway station. [T Robberts]](/uploads/r/null/1/2/9/129ea05693137d1feb7b6eb775da4b278321d32e41c59c42dd8f9f40b4517f08/CB_033_085_84_142.jpg)
Windhoek, Namibia, December 1984. Railway station. [T Robberts]
Part of THL Image Collection
South-West Africa. SAR Class NG15 No 118.
Part of THL Image Collection
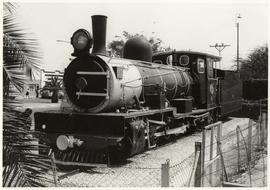
Usakos, South-West Africa. DSWA Class Hd No 40 plinthed at railway station.
Part of THL Image Collection

Usakos, South-West Africa. DSWA Class Hd No 40 plinthed at railway station.
Part of THL Image Collection
South-West Africa. SAR Class NG15.
Part of THL Image Collection
Tsumeb district, South-West Africa. OMEG Class 'Jung' No 9 at Monument.
Part of THL Image Collection

Namibia. Narra fruit growing on the sand dunes near Walvis Bay.
Part of THL Image Collection
Namibia. Johann Albrecht's home.
Part of THL Image Collection

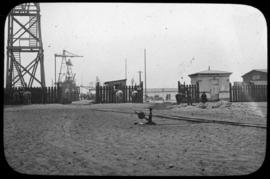
Namibia. Waldau railway station.
Part of THL Image Collection

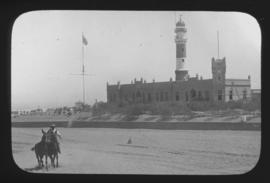
Namibia. Windhoek railway station.
Part of THL Image Collection
Namibia. Swakopmund lighthouse.
Part of THL Image Collection
Part of THL Image Collection
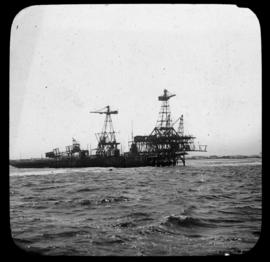
Namibia. Swakopmund jetty. Photo taken from the Damara tower.
Part of THL Image Collection
Namibia. Swakopmund jetty gates.
Part of THL Image Collection
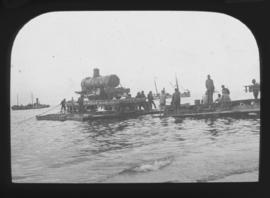
Namibia. Landing boilers at Swakopmund.
Part of THL Image Collection

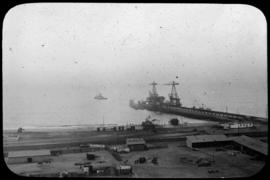
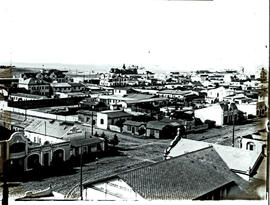
Namibia. View of Luderitz town and harbour.
Part of THL Image Collection
Part of THL Image Collection
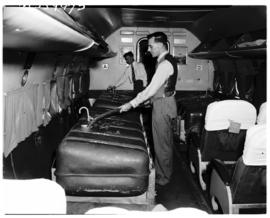
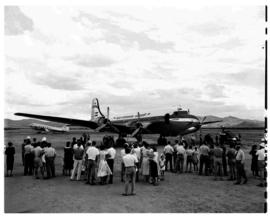
Windhoek, South-West Africa, circa 1953. Test flight SAA Douglas DC-4 Johannesburg to Windhoek.
Part of THL Image Collection

Part of THL Image Collection
Part of THL Image Collection

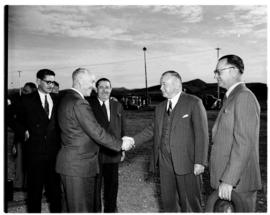
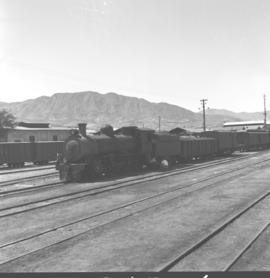
South-West Africa, January 1961. Opening of 3ft 6in line. SAR Class 32-000 with passenger train.
Part of THL Image Collection
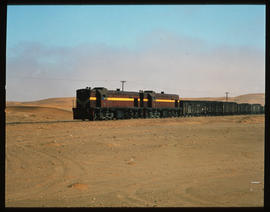
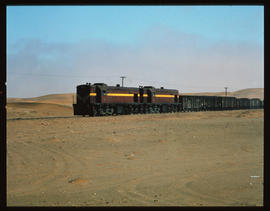
Part of THL Image Collection
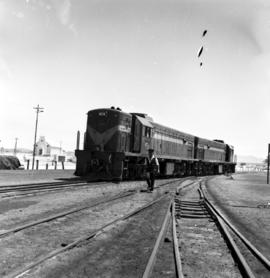
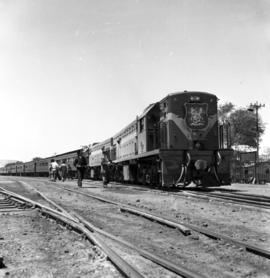
South-West Africa, January 1961. Opening of 3ft 6in line. Two diesel locomotives.
Part of THL Image Collection

Part of THL Image Collection
South-West Africa, January 1961. Opening of 3ft 6in line. SAR Class NG15 at watering point.
Part of THL Image Collection
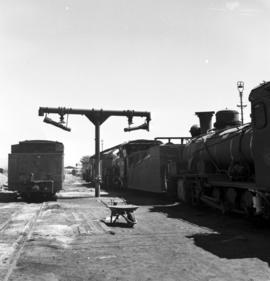
South-West Africa, January 1961. Opening of 3ft 6in line with SAR Class NG15 in railway yard.
Part of THL Image Collection
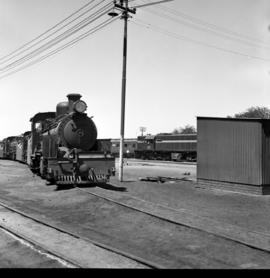
South-West Africa, January 1961. Opening of 3ft 6in line with SAR Class 8 and train in railway yard.
Part of THL Image Collection

Part of THL Image Collection
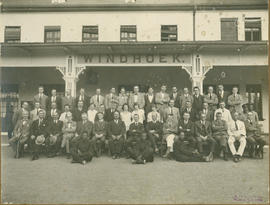
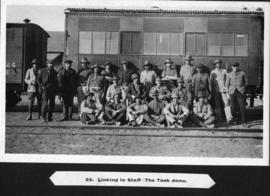
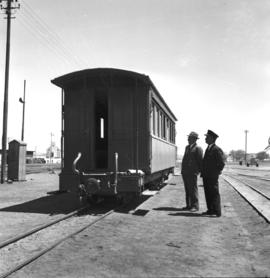
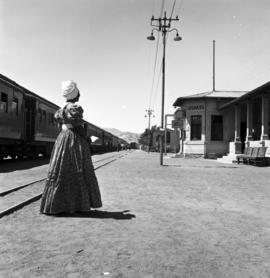
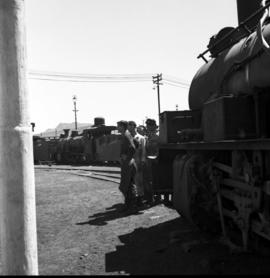
Windhoek, South-West Africa. Railway staff outside station building.
Part of THL Image Collection