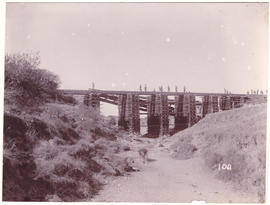
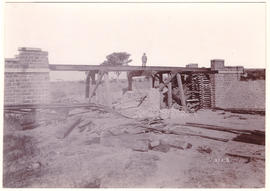
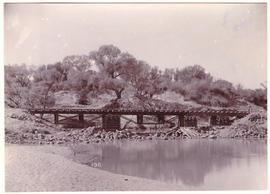
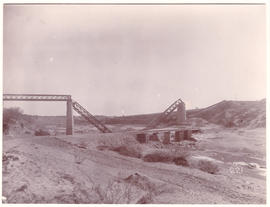
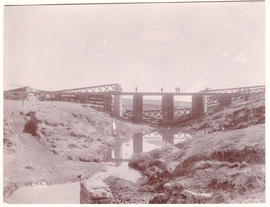
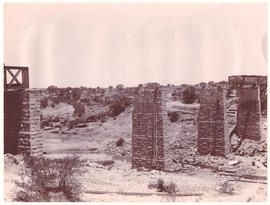
Circa 1900. Anglo-Boer War. Doorn Spruit temporary bridge No 1.
- ZA 0375-BF-060-P3387_108
- Unidad documental simple
Parte deTHL Image Collection
Circa 1900. Anglo-Boer War. Doorn Spruit temporary bridge No 1.
Parte deTHL Image Collection
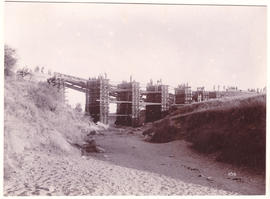
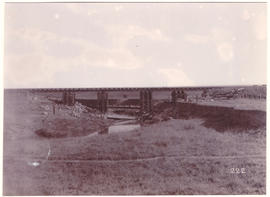
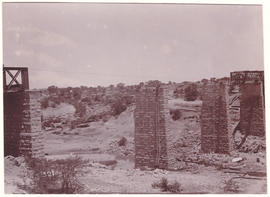
Circa 1900. Anglo-Boer War. Doorn Spruit temporary bridge No 2.
Parte deTHL Image Collection

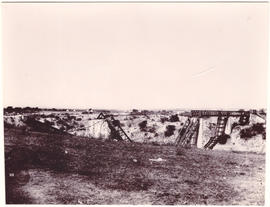
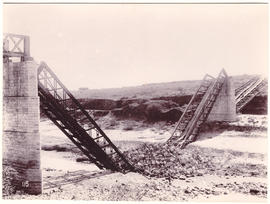
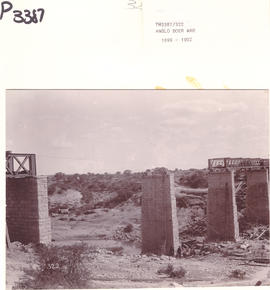
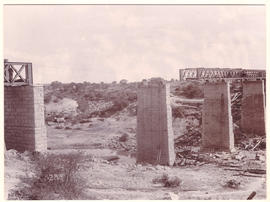
Circa 1900. Anglo-Boer War. Doorn Spruit permanent bridge showing break.
Parte deTHL Image Collection
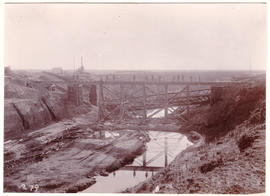
Circa 1900. Anglo-Boer War. Zand River bridge.
Parte deTHL Image Collection

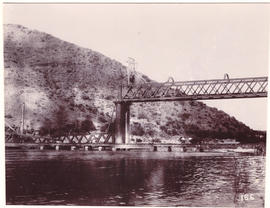
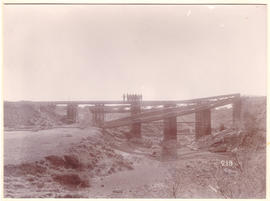
Circa 1900. Anglo-Boer War. Vet River bridge from the north.
Parte deTHL Image Collection
Circa 1900. Anglo-Boer War. Vet River bridge diversion.
Parte deTHL Image Collection
Circa 1900. Anglo-Boer War. Zand River bridge from south bank.
Parte deTHL Image Collection
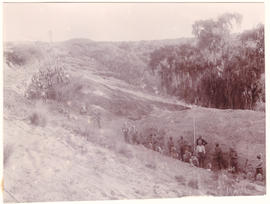
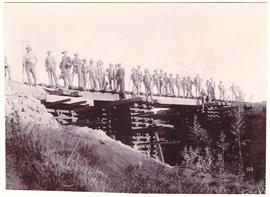
Circa 1900. Anglo-Boer War. Vet River diversion cutting with infantry working parties.
Parte deTHL Image Collection
Circa 1900. Anglo-Boer War. Vet River bridge full view from the west.
Parte deTHL Image Collection
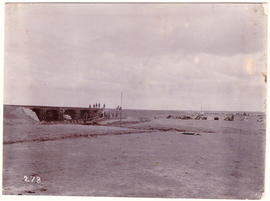
Circa 1900. Anglo-Boer War. Norvalspont diversion, first train to pass.
Parte deTHL Image Collection
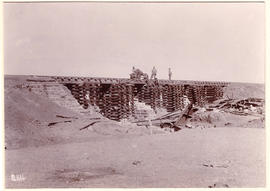
Circa 1900. Anglo-Boer War. Bridge under repair.
Parte deTHL Image Collection
Circa 1900. Anglo-Boer War. Temporary bridge over Valsch River from north bank.
Parte deTHL Image Collection
Circa 1900. Anglo-Boer War. Diversion bridge over Valsch River from the north bank.
Parte deTHL Image Collection

Circa 1900. Anglo-Boer War. Temporary bridge No 1 at Glen.
Parte deTHL Image Collection
Trestle bridge over donga at Valsch River frpm north bank.
Parte deTHL Image Collection
Circa 1900. Anglo-Boer War. Temporary bridge No 2 at Glen.
Parte deTHL Image Collection
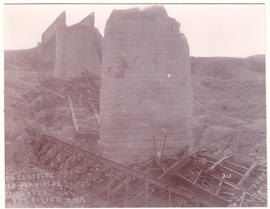
Circa 1900. Anglo-Boer War. Valsch River bridge showing break.
Parte deTHL Image Collection
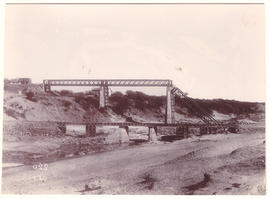
Circa 1900. Anglo-Boer War. Glen bridge over the Modder River showing break.
Parte deTHL Image Collection
Circa 1900. Anglo-Boer War. Glen bridge over the Modder River full view.
Parte deTHL Image Collection
Parte deTHL Image Collection
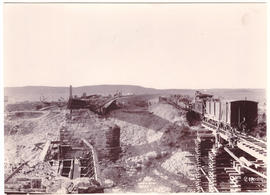
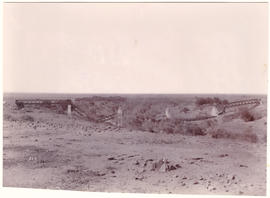
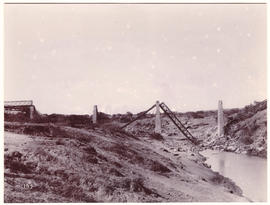
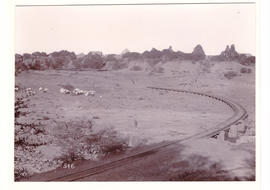
Circa 1900. Anglo-Boer War. Bridge near Rhenoster, general view of main bridge and diversion.
Parte deTHL Image Collection
Circa 1900. Anglo-Boer War. Doorn River main and diversion bridges.
Parte deTHL Image Collection
Circa 1900. Anglo-Boer War. Sand River main and diversion bridges.
Parte deTHL Image Collection
Circa 1900. Anglo-Boer War. Sand River main and diversion bridges.
Parte deTHL Image Collection
Circa 1900. Anglo-Boer War. Riet Spruit main bridge with one 50 foot span and two 20 foot spans.
Parte deTHL Image Collection
Circa 1900. Anglo-Boer War. Kromellenburg Spruit with two 50' spans.
Parte deTHL Image Collection
Circa 1900. Anglo-Boer War. Kromellenburg Spruit temporary bridge.
Parte deTHL Image Collection
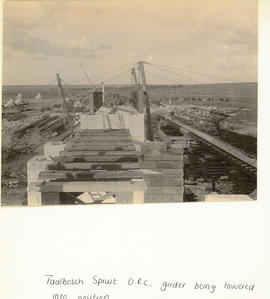
Circa 1900. Anglo-Boer War. Taaibosch Sprut bridge from the east.
Parte deTHL Image Collection
Parte deTHL Image Collection
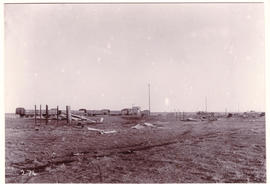
Circa 1900. Anglo-Boer War. Wolve Hoek station showing blown up tank and trucks.
Parte deTHL Image Collection
Circa 1900. Anglo-Boer War. Taaibosch Spruit bridge from the north bank.
Parte deTHL Image Collection
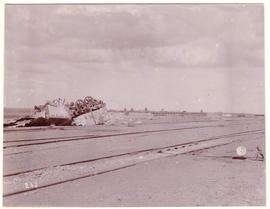
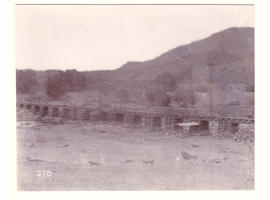
Circa 1900. Anglo-Boer War. Roodewal station destroyed by enemy on 7 March 1900.
Parte deTHL Image Collection
Circa 1900. Anglo-Boer War. Kromellenburg Spruit and garrison.
Parte deTHL Image Collection
Parte deTHL Image Collection
Circa 1900. Anglo-Boer War. Vet River bridge from the south (taken by enemy).
Parte deTHL Image Collection
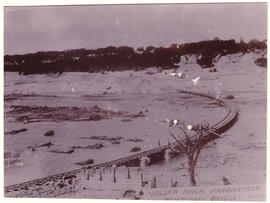
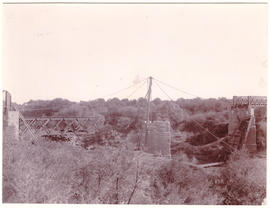
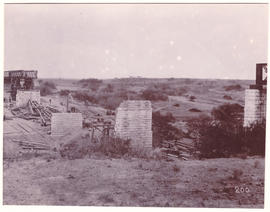
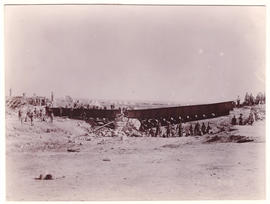
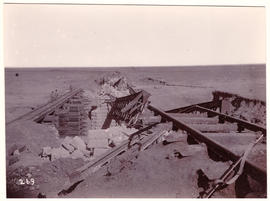
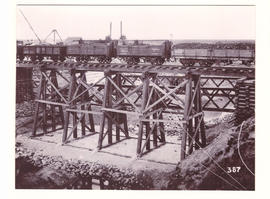
Circa 1900. Anglo-Boer War. Valsch River high level bridge reconstruction before launching girders.
Parte deTHL Image Collection
Parte deTHL Image Collection
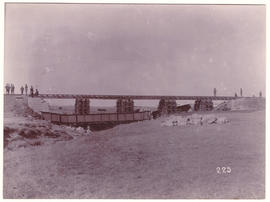
Circa 1900. Anglo-Boer War. Valsch River high level bridge on 2nd pier.
Parte deTHL Image Collection
Parte deTHL Image Collection
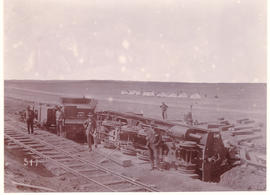
Orange Free State, circa 1900. Overturned locomotive at Rhenoster during Anglo-Boer War.
Parte deTHL Image Collection
Parte deTHL Image Collection
Orange Free State, circa 1900. Temporary bridge at Rhenoster during Anglo-Boer War.
Parte deTHL Image Collection
Parte deTHL Image Collection
Parte deTHL Image Collection