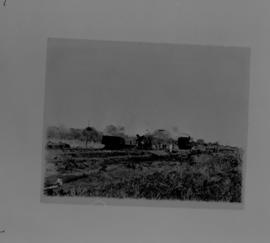
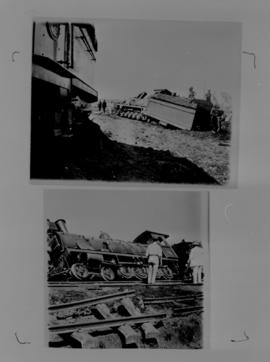
Page 02 (top). 1912. Accident to No 380.
- ZA 0375-A--0150_00-P2
- Unidad documental simple
- 1912
Parte deTHL Image Collection
Page 02 (top). 1912. Accident to No 380.
Parte deTHL Image Collection
Parte deTHL Image Collection

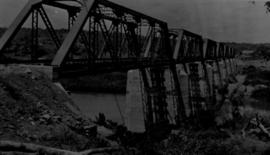
Page 09 (top). 1912. Klaserie River bridge with three 100 foot spans.
Parte deTHL Image Collection

Page 08 (bottom). 1912. Trusses being erected of Olifants River bridge.
Parte deTHL Image Collection
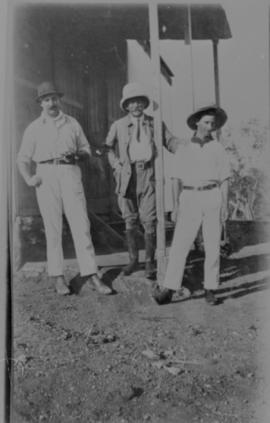
Page 5 (bottom). 1912. HSC Bergh, JP Fenoulhet and JEL Diespecken.
Parte deTHL Image Collection
Page 12 (top). 1912. Gravelotte Spruit bridge with one 50 foot span.
Parte deTHL Image Collection

Page 06 (bottom). 1912. Olifants River bridge with seven 100 foot spans.
Parte deTHL Image Collection

Page 01 (bottom). 1912. Sneiff Spruit bridge with one 100 foot span.
Parte deTHL Image Collection
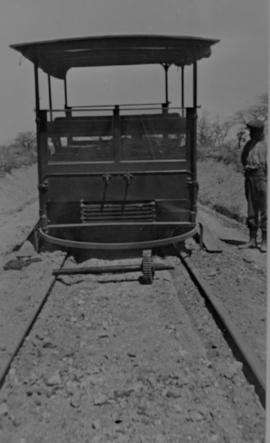
Page 13 (bottom). 1912. Motor trolley accident.
Parte deTHL Image Collection

Parte deTHL Image Collection

Page 15. 9 November 1912. Opening of the Selati - Tzaneen line.
Parte deTHL Image Collection

Parte deTHL Image Collection

Parte deTHL Image Collection

Parte deTHL Image Collection
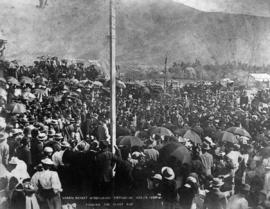
Page 01. Graaff-Reinet, 15 August 1896. Turning the first sod.
Parte deTHL Image Collection

Parte deTHL Image Collection

Page 02. Nakob. On the border between South Africa and German South-West Africa.
Parte deTHL Image Collection

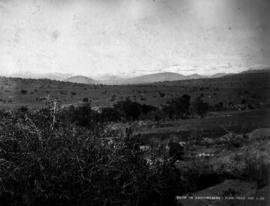
Page 03. Graaff-Reinet. View from the northwest.
Parte deTHL Image Collection
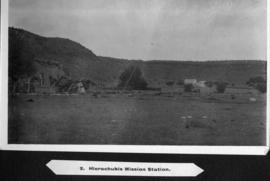
Page 03. Hierachubis. Mission station.
Parte deTHL Image Collection
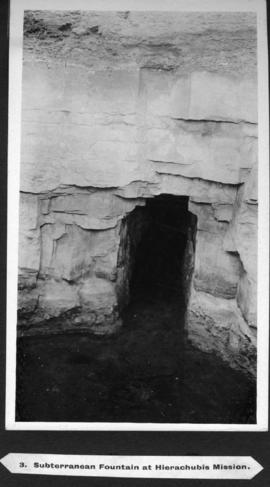
Page 04. Hierachubis. Subterranean fountain at mission station.
Parte deTHL Image Collection
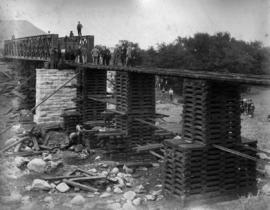
Page 04. Graaff-Reinet. Construction of railway bridge over the Sundays River.
Parte deTHL Image Collection
Parte deTHL Image Collection

Page 05. Graaff-Reinet. Construction of railway bridge over the Sundays River.
Parte deTHL Image Collection
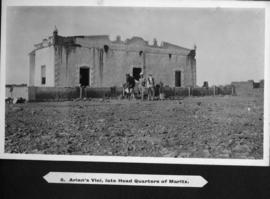
Page 06. Ariamsvlei. Late headquarters of General Manie Maritz.
Parte deTHL Image Collection

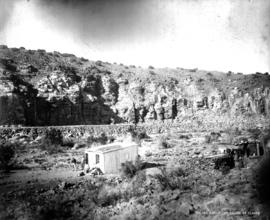
Page 06. Near Graaff-Reinet. Rock excavation at Blauw Krantz.
Parte deTHL Image Collection
Parte deTHL Image Collection
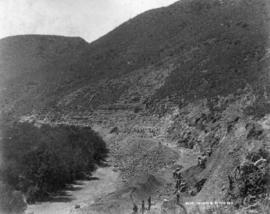
Page 07. Near Graaff-Reinet. Rock excavation at Blauw Krantz.
Parte deTHL Image Collection
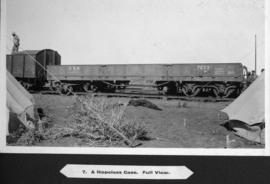
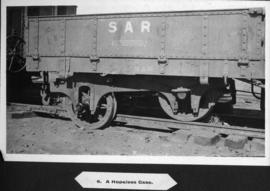
Page 08. A hopeless case. Full view.
Parte deTHL Image Collection
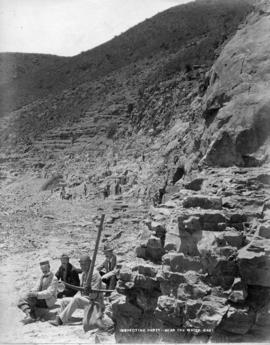
Page 08. Near Graaff-Reinet. Inspection team at Blauw Krantz.
Parte deTHL Image Collection
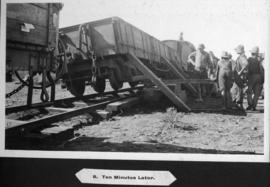
Page 09. A hopeless case. Ten minutes later.
Parte deTHL Image Collection
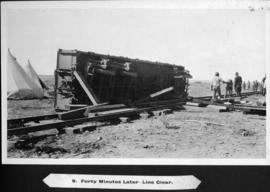
Page 10. A hopeless case. Forty minutes later, line clear.
Parte deTHL Image Collection

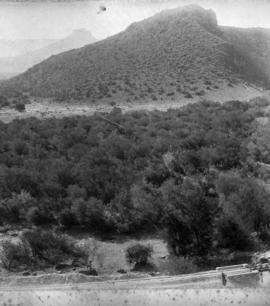
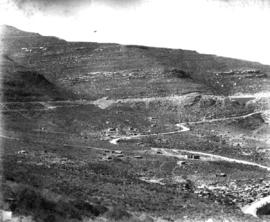
Page 10. Near Graaff-Reinet. Blauw Krantz curve and cutting.
Parte deTHL Image Collection
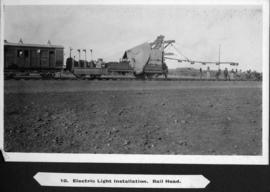
Page 11. Electric light installation at railhead.
Parte deTHL Image Collection
Page 11 (left). Near Graaff-Reinet. Curve beyond Blauw Krantz.
Parte deTHL Image Collection
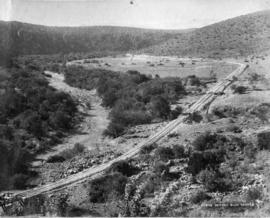
Page 11 (right). Near Graaff-Reinet. Curve beyond Blauw Krantz.
Parte deTHL Image Collection
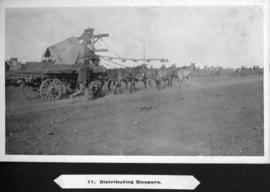
Page 12. Distribution of sleepers by mule wagon.
Parte deTHL Image Collection
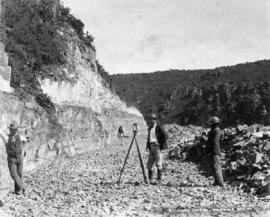
Page 12. Near Graaff-Reinet. Surveyor at work at Wit Krantz cutting, Harrison's section.
Parte deTHL Image Collection
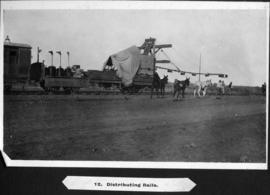
Page 13. Dragging of rails by mule.
Parte deTHL Image Collection

Page 13. Near Graaff-Reinet. 'Sitting Hen Rock' at Wit Krantz.
Parte deTHL Image Collection

Page 14. Near Graaff-Reinet. Dolerite columns at Wit Krantz.
Parte deTHL Image Collection
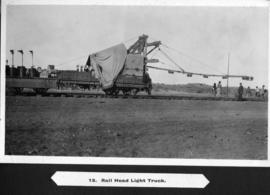
Page 14. Light truck at railhead.
Parte deTHL Image Collection
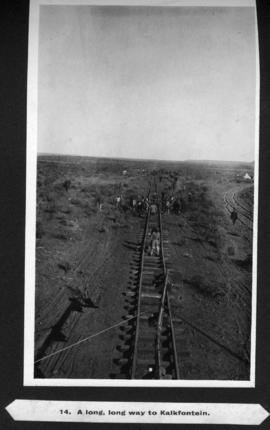
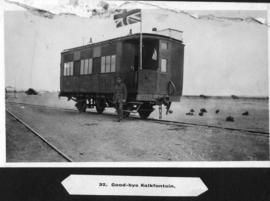
Page 15. A long, long way to Kalkfontein.
Parte deTHL Image Collection
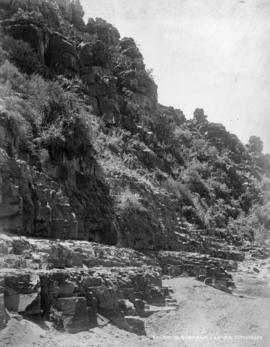
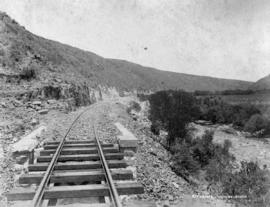
Page 15. Railway on river bank with natural rock buttresses.
Parte deTHL Image Collection
Parte deTHL Image Collection
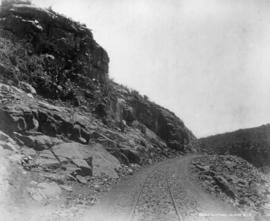
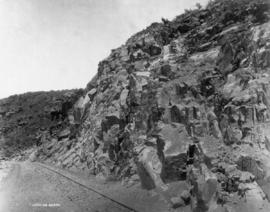
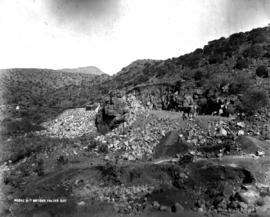
Page 16. Heavy cutting at Blauw Klip.
Parte deTHL Image Collection
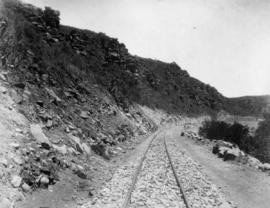
Page 17. Railway line on river bank.
Parte deTHL Image Collection
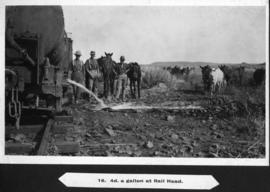
Page 17. Water at four pennies a gallon at railhead.
Parte deTHL Image Collection

Page 18. The last lap to Kalkfontein.
Parte deTHL Image Collection
Page 19. Near Graaff-Reinet. Looking north from Wit Krantz.
Parte deTHL Image Collection
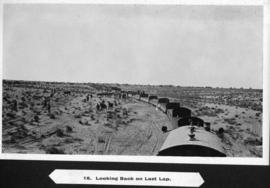
Page 19. Looking back on the last lap to Kalkfontein.
Parte deTHL Image Collection
Page 20. Near Graaff-Reinet. Looking south from Wit Krantz.
Parte deTHL Image Collection
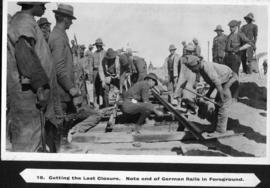
Page 20. Cutting the last closure with end of German rails in foreground.
Parte deTHL Image Collection

Page 21. Driver Harrison with SAR Class 7B No 1038.
Parte deTHL Image Collection

Page 21. Near De Erf looking south.
Parte deTHL Image Collection
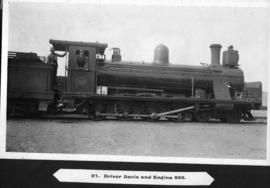
Page 22. Driver Davis with SAR Class 7 No 955.
Parte deTHL Image Collection
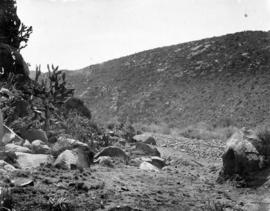
Page 22. Railway line in narrow kloof with boulders.
Parte deTHL Image Collection

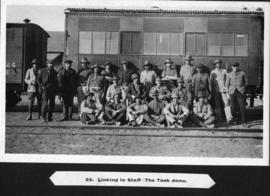
Page 23. Captain Forbes, RSO and Lieutenant Ormsby, District Engineer in Charge Rail Head.
Parte deTHL Image Collection
Parte deTHL Image Collection
Parte deTHL Image Collection
Parte deTHL Image Collection

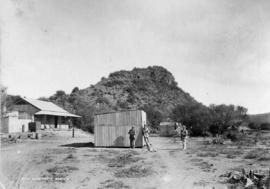
Page 25. Kalkfontein. View from the east.
Parte deTHL Image Collection
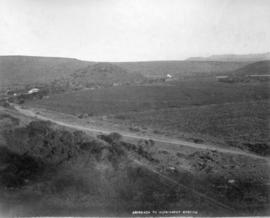
Page 26. Glen Harry. Approach to station.
Parte deTHL Image Collection
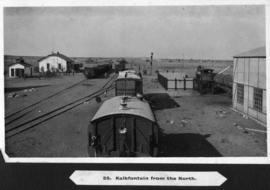
Page 26. Kalkfontein. View from the north.
Parte deTHL Image Collection
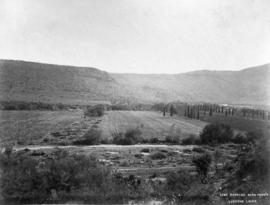
Page 27. Glen Harry. Line passing lucerne lands.
Parte deTHL Image Collection

Page 27. Kalkfontein. Engine shed at station.
Parte deTHL Image Collection
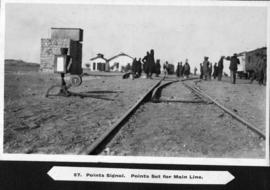
Page 28. Kalkfontein. Points set for main line.
Parte deTHL Image Collection

Page 28. Temporary bridge over Sundays River.
Parte deTHL Image Collection
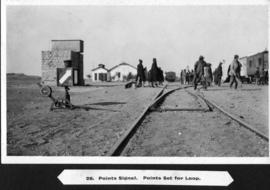
Page 29. Kalkfontein. Points set for loop.
Parte deTHL Image Collection

Page 29 (top). Temporary bridge over Sundays River.
Parte deTHL Image Collection

Page 29 (bottom). Temporary bridge over Sundays River.
Parte deTHL Image Collection
Page 30. View of snow on Nardouwsberg from railway line.
Parte deTHL Image Collection
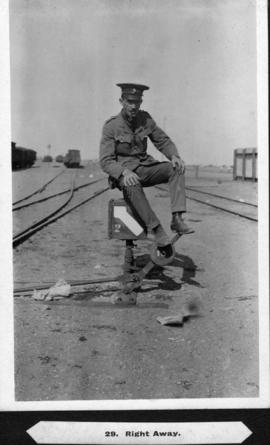
Page 30. Kalkfontein. Lieutenant Ormsby at points signal.
Parte deTHL Image Collection
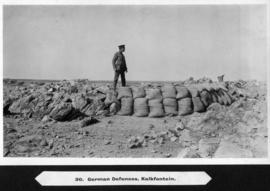
Page 31. Kalkfontein. Defensive position formed by Germans with sand bags.
Parte deTHL Image Collection
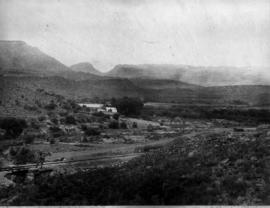
Page 31. Railway line with farmhouse in background.
Parte deTHL Image Collection

Page 32. Kalkfontein. Water tank protected by sand bags.
Parte deTHL Image Collection
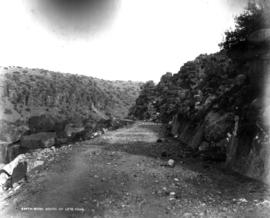
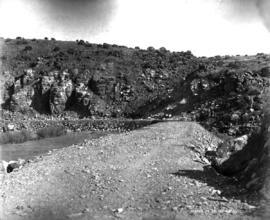
Page 32. Earthworks north of Letskraal.
Parte deTHL Image Collection
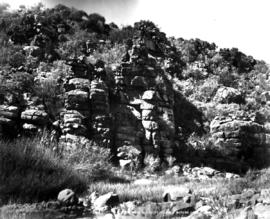
Page 33. Rocks near Coloniesplaats before construction.
Parte deTHL Image Collection
Parte deTHL Image Collection
Parte deTHL Image Collection
Page 35. Palinggat at Coloniesplaats.
Parte deTHL Image Collection
Page 36. Rocky bit beyond Palinggat.
Parte deTHL Image Collection
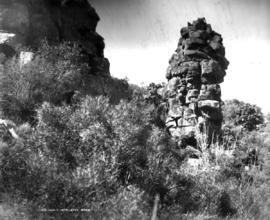
Page 37. Column intrusive rock.
Parte deTHL Image Collection

Page 38. Lootsberg. Approach from the south.
Parte deTHL Image Collection
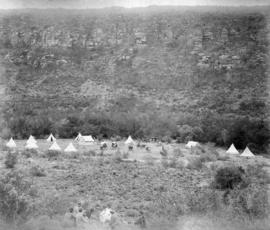
Page 39. Lootsberg. Approach from the south, showing construction shelters.
Parte deTHL Image Collection
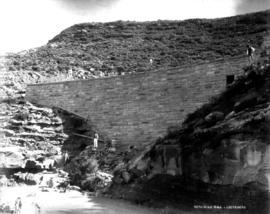
Page 40. Lootsberg. Great retaining wall.
Parte deTHL Image Collection

Page 41. Lootsberg. Great retaining wall.
Parte deTHL Image Collection
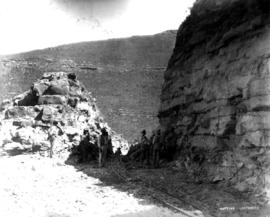
Page 42. Lootsberg. Cutting south of summit.
Parte deTHL Image Collection
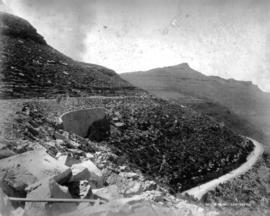
Page 43. Lootsberg. Railway line and road south of summit.
Parte deTHL Image Collection

Page 44. Middelburg or Rosmead. First train with 'Prosperity' banner over railway line.
Parte deTHL Image Collection
Heavy cylindrical vessel drawn by four SAR International Pacific trucks.
Parte deTHL Image Collection
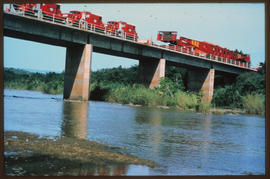
Heavy steel beam drawn by three SAR International Pacific trucks over steel bridge.
Parte deTHL Image Collection
Parte deTHL Image Collection
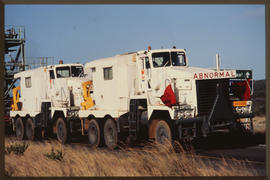
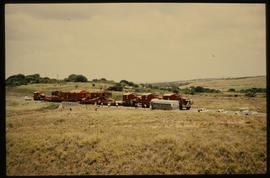
Two SAR trucks led by No MT80704 with heavy load. Transnet.
Parte deTHL Image Collection
Two SAR trucks led by No MT80704 with heavy load. Transnet.
Parte deTHL Image Collection
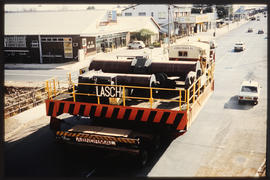
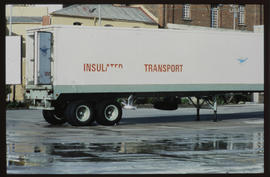
SAR truck with wide load in city street.
Parte deTHL Image Collection
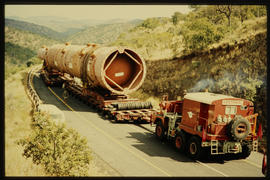
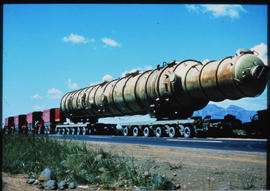
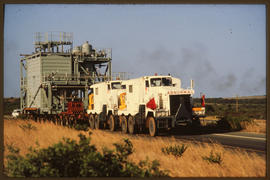
Heavy cylindrical vessel drawn by SAR International Pacific truck on open road.
Parte deTHL Image Collection
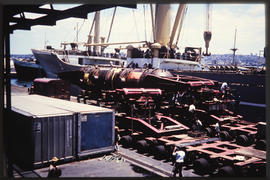
Abnormal load loaded from ship in harbour.
Parte deTHL Image Collection
Parte deTHL Image Collection
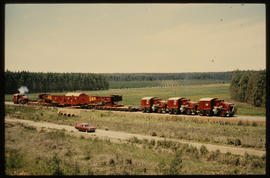
1977. Four SAR International Pacific trucks with heavy beam on the road.
Parte deTHL Image Collection
1977. Four SAR International Pacific trucks with heavy beam on the road.
Parte deTHL Image Collection